Renowned Standing
Due to skills we uphold, both large and small roll-out firms want to benefit from our knowledge and expertise.
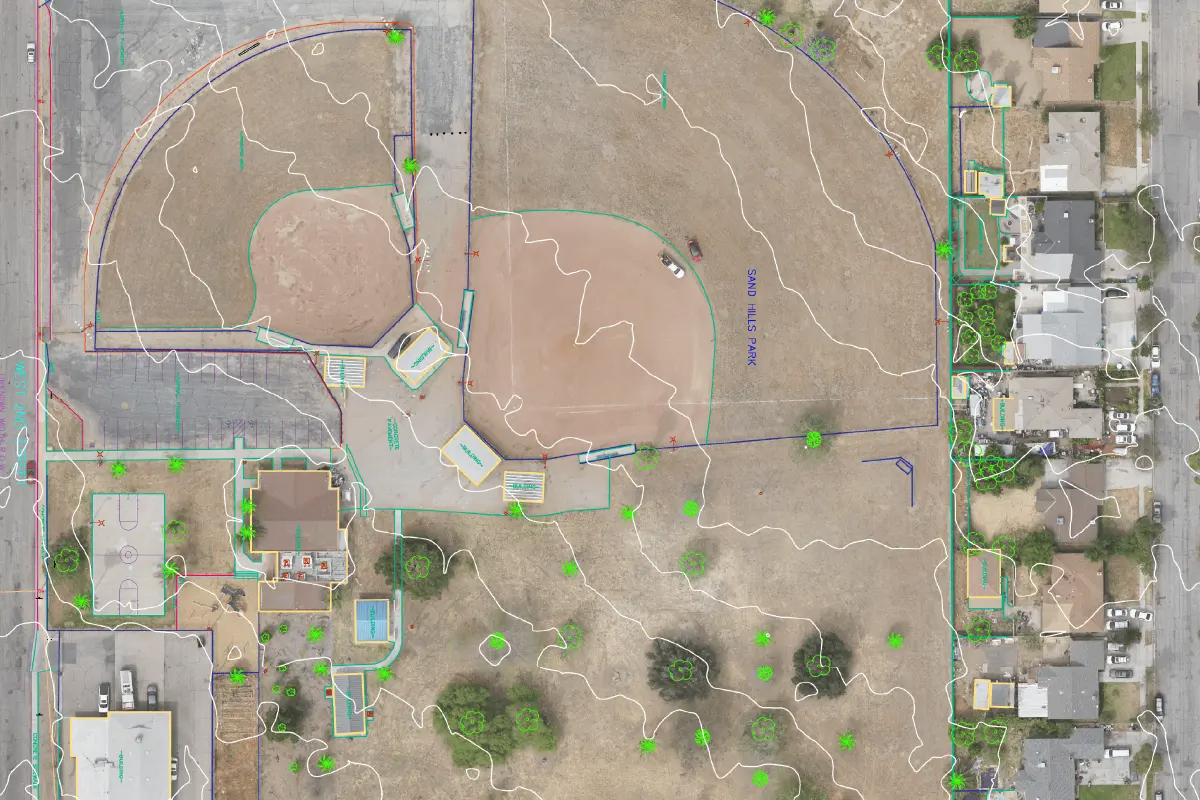
Advanced photogrammetry data processing to turn aerial images into accurate survey deliverables to create 2D and 3D files.
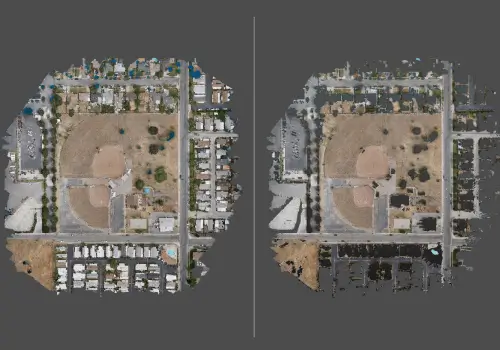
At Gsource, our Photogrammetry Data Processing and Mapping services convert photographs into highly accurate 3D models and maps, essential for industries such as surveying, construction, archaeology & others. We specialize in extracting data from 2D images to create detailed 3D models, maps & other spatial datasets, providing you with the insights you need for your projects. Using advanced photogrammetry software, we also reconstruct 3D geometry from any scene, producing Orthophotos, Digital Elevation Models (DEMs), Point Clouds & other spatial data products.
Our service includes using advanced software to analyze and process images, identifying key features, measurements & geometric properties. These outputs are invaluable for land surveying, urban planning, engineering, environmental monitoring & infrastructure development. Trust Gsource to deliver accurate and efficient photogrammetry solutions custom-based to your specific needs.


Photogrammetry Data Processing and Mapping can become a difficult task at times and also requires detailed and expert accompaniment. Outsourcing these services can benefit you in certain ways
Here, at Gsource, we have skilled professionals and experts who provide our clients with precise and accurate maps and 3D models for their photogrammetry data processed and mapped. We have advanced tools for drafting including Civil 3D, LiDAR 360, Cloud Compare & more to get you apt results that also comply with codes and regulations.
High-precision topographic surveys and boundary mapping for land development projects.
Site progress monitoring, volumetric analysis & 3D Modeling for construction projects.
Accurate volumetric calculations, pit surveys & terrain analysis for efficient resource extraction.
Detailed terrain models and infrastructure mapping to support design and planning.
Creation of accurate geospatial data and orthomosaics for comprehensive area mapping.
3D building models and site analysis to aid in design and project planning.
Facility Mapping and 3D Modeling for site optimization and industrial planning.
Digital preservation of historical sites and monuments through high-resolution 3D modeling.
Surface mapping, rock formation analysis & geological surveys for resource management.
Your Project is Ready in 6 Easy Steps
The client required a survey of an old bridge whose images were captured using a drone. The client required the identification of cracks on the bridge with their exact location, size, width, and other details. Also, the development scope of the bridge was required with the crack report. Using PTGui and FUJI, we identified the cracks and their details, and the final report was submitted to the client.
The main challenge we faced was with aligning the images. The areas photographed were the inside portions of the Girder of the bridge structure. As all internal parts were similar in shape, it was necessary to work in a manner that easily identified portions. For this, all internal structures were shot with identifiers that helped to identify each section of Girder. The Girders were in odd shape having an oval shape at the sides and flat at the bottom and top. Since every shot showed the same form, it proved difficult to determine the precise size.
Another challenge we faced was the analysis of the photos. Because these photos were taken from different angles, identifying the exact location of the crack using 400 images per section was a task. Another challenge we faced was the arrangement of various photos of each section and getting one picture with the exact location of the crack.
To analyze the photos, PTGui was used to get the exact location of the cracks. PTGui helped us stitch different images from three angles-left, right, and center-and get the location. Utilizing state-of-the-art surveying instruments, world-class photographic software such as PTGui – developed by the New House Internet Services BV, Adobe Photoshop, add-on tool FUJI by Fujifilm, and Computer-Aided Design (CAD) software, our team ensured accuracy and efficiency in the analyzing process and Microsoft Excel to create a report on each of the cracks.
Certain identifiers were used to get one photo of the section. This was done to identify cracks in each section with 400 images each. These photos were analyzed in FUJI to get the width, length, size, and other details of the crack. We took the output from FUJI to AutoCAD for manually analyzing details. This data was then set to our standards. Finally, the data was exported to the Excel sheet, where the location of each crack in XYZ coordinates, width, size, and other required details were mentioned.
The final result submitted to the client was an Excel sheet with the exact location of the crack and the corresponding images.
Due to skills we uphold, both large and small roll-out firms want to benefit from our knowledge and expertise.
We use high-tech solutions like an in-house Python-based processing engine for Drone Photogrammetry.
We have an R&D team that can handle vast data collection, which can feel like a task for other companies.
Timely actions and efficient outputs minimize delays, maximizing productivity and ensuring prompt photogrammetry data processing and mapping service for our clients.
The data used by us for creating topographic maps, volume calculations & distance measurements provides results to the point.
The experience that our team holds is what sets us apart. With training programs, our team of 300 members can deliver top-tier results laid over a 30,000-square-foot Class A Office space.
We are active members of national and international surveying, architectural, engineering & geospatial organizations.
As a service provider, we’ve supported and served companies across the US. Our dedication produces excellent quality that propels industry success.
The level of detail and scope of project will determine how long it takes to complete. Our goal is to provide top-notch outcomes within shortest amount of time.
We can deliver outputs in various formats depending on your requirements. This includes but is not limited to .dwg, .dxf, .shp, .kml, .las, .laz, etc.
We take data security and privacy very seriously. We have stringent measures in place to ensure that your data is securely stored and processed.
Yes, we offer post-processing services to improve image quality and guarantee dataset consistency. This involves operations including noise reduction, color balance & picture stitching.
We have procedures in place for finding, recording & quickly addressing problems in extremely unlikely cases where there are inconsistencies or inaccuracies. To reduce mistakes and guarantee data integrity, our staff performs extensive quality assurance tests.
Yes. We have expertise in allowing smooth compatibility and data interchange by integrating photogrammetry data with different GIS and mapping systems. By doing this, compatibility with current systems and workflows is ensured.
Depending on needs of project, we may accomplish several degrees of complexity, from extensive landscape modeling to finely detailed surface characteristics. To determine appropriate degree of detail and make sure it complies with project goals, our team works closely with customers.
We utilize industry-leading software and tools tailored for Photogrammetry and GIS applications, like, Reality Capture, Pix4Dmapper, Pix4D, DroneDeploy & Autodesk ReCap.
(Enter captcha image text in box)
At Gsource Technologies, we’re ready to help! Tell us what you need, and we’ll connect you with the right experts.